Halliesphere was founded by Jennifer Susan in 2021, driven by a passion for creativity and a deep connection to nature. Jennifer found solace and joy in the simple act of arranging flowers, often frustrated by the limitations of traditional methods. She wanted to create something accessible that would empower anyone to create stunning, professional-quality arrangements with ease. Halliesphere was born from this vision.
Experience the joy of floral artistry
Whether you're a seasoned florist or just beginning your journey with flowers, Halliesphere simplifies the art of floral design, allowing your creativity to take centre stage.
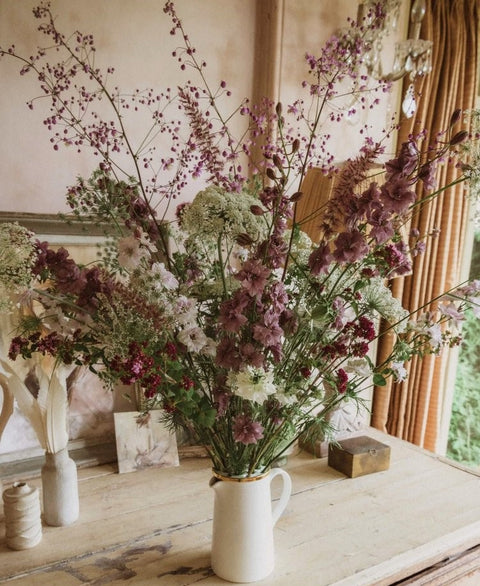
From crafting opulent centrepieces for your dinner table and delicate posies for your nightstand to gifting your loved ones their favourite blooms, each Halliesphere arrangement brings out your inner artist.
Whether it’s a wildflower posy, cut flowers from your garden, or shop-bought blooms, your Halliesphere transforms any flowers into a luxurious arrangement. Its versatile nature turns any vessel into a vase.
A step-by-step guide to using a Halliesphere
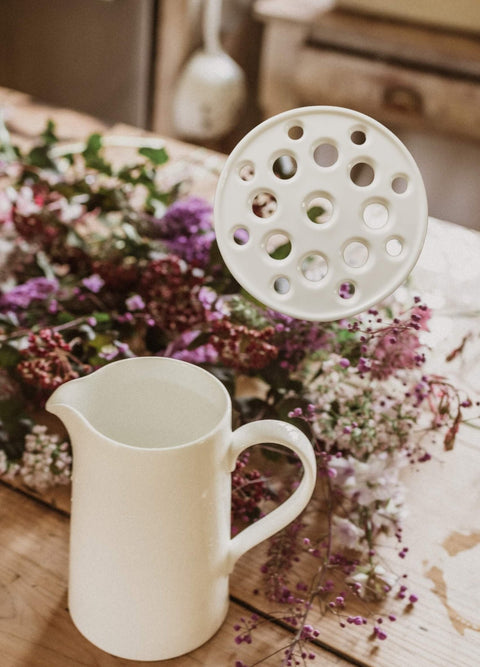
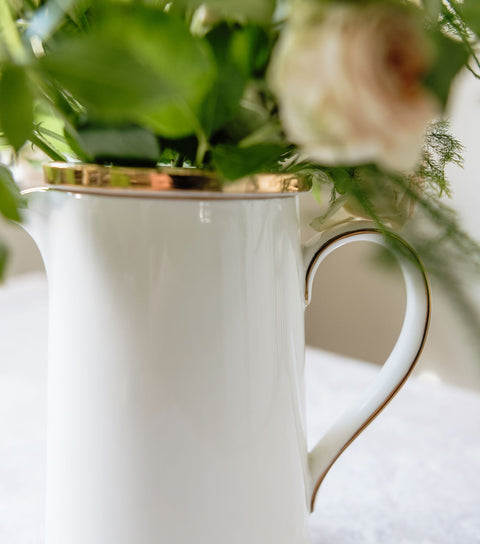
Step 1 - Choose your vessel
Select any container you'd like - a vase, jar, mug, urn or even a vintage teapot. Halliesphere transforms any vessel into an elegant flower arranger.
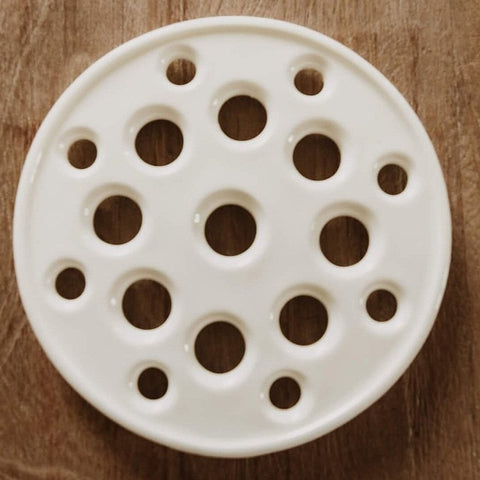
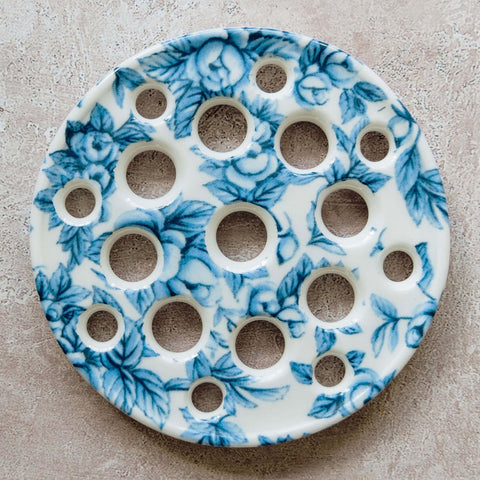
Step 2 - Prepare your Halliesphere
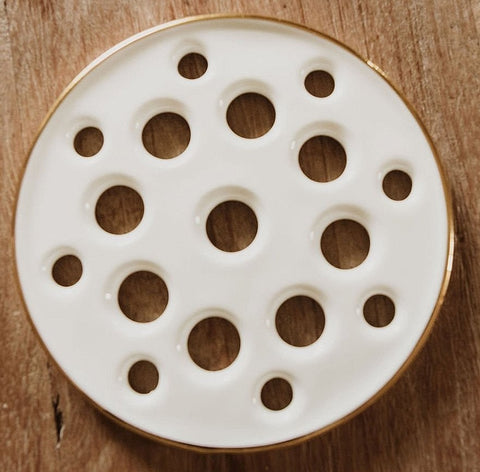
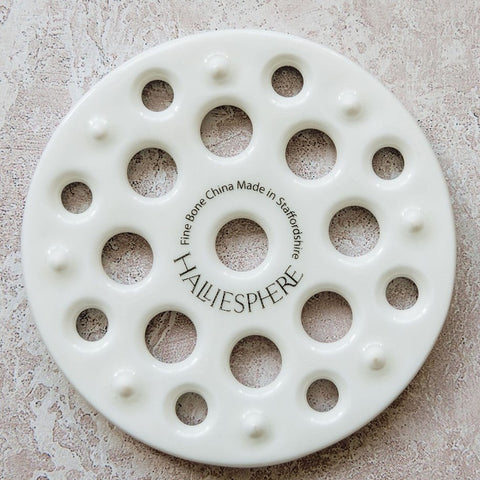
Gently rinse your Halliesphere with cool water to remove any dust. Its fine bone china materials ensure durability and longevity.
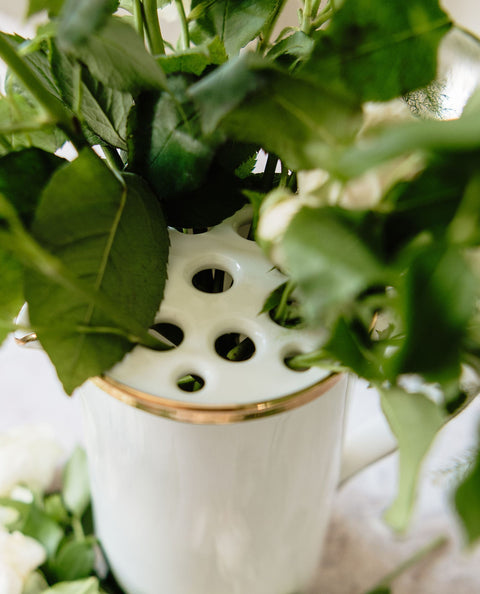
Step 3 - Place your Halliesphere on top of your vessel
Position your Halliesphere on top of your chosen vessel. Its unique design will hold the flowers securely in place.
Step 4 - Prepare your flowers
Trim the stems of your flowers at a 45-degree angle. This increases the surface area for water absorption, so they’ll stay at their best for longer.
Step 5 - Begin arranging
Start with your focal flowers - these are usually the largest or most striking blooms. Place them in the Halliesphere's central holes.
Step 6 - Add structure
Insert longer stems or greenery to create height and shape. The Halliesphere's design allows for easy placement at various angles, giving it a free, organic shape.
Step 7 - Fill in the arrangement
To create fullness, add smaller flowers and fillers. The Halliesphere's multiple holes allow for precise placement and support.
Step 8 - Create balance
Step back occasionally to ensure your arrangement looks balanced from all angles. Adjust as needed.
Step 9 - Add water
Carefully fill your vessel with water.
Step 10 - Maintain your arrangement
Change the water every few days and trim stems as needed. Your Halliesphere will help extend the life of your flowers so you can enjoy them for longer.
Step 11 - Clean and store
When you're done, simply rinse your Halliesphere and let it air dry. Store it away safely until it’s ready for your next floral creation!
It’s my hope that Halliesphere brings you moments of whimsy, joy, and connection and helps foster a life-long love of flowers.” - Jennifer Susan